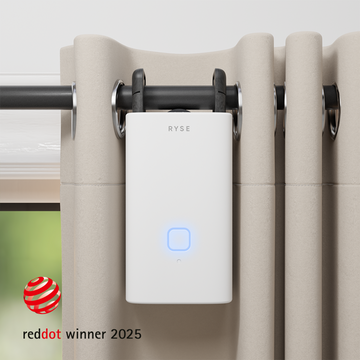


Motorized blinds are one of the most popular smart home upgrades, offering a perfect balance of convenience, style, and energy efficiency. They can be controlled with a remote, wall switch, smartphone app, or even through voice assistants like Amazon Alexa, Google Assistant, or Apple Siri.
But what happens if your motorized blind isn’t stopping in the right place, feels uneven, or doesn’t respond the way you want? That’s when you need to know how to adjust motorized blinds.
Why Adjustment Matters
Properly adjusted blinds ensure:
-
Smooth Operation: Blinds open and close evenly without getting stuck.
-
Correct Stop Points: Set your preferred upper and lower limits for convenience.
-
Energy Efficiency: Blinds close fully to block sunlight or open at the exact angle to let in natural light.
-
Longer Lifespan: Prevents strain on the motor and fabric caused by misalignment.
Common Reasons You Need to Adjust Motorized Blinds
-
The blind doesn’t stop at the right height.
-
The slats or fabric roll unevenly.
-
Remote or app commands don’t sync properly.
-
You’ve recently reset or changed batteries.
-
Blinds were installed but not calibrated.
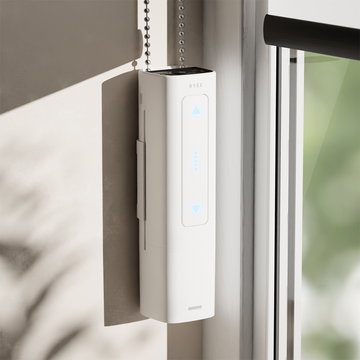
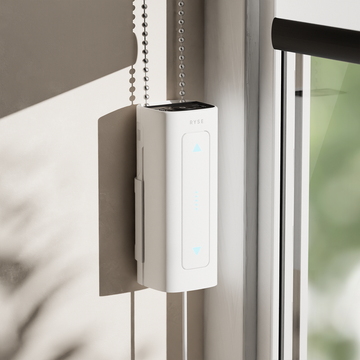
Step 1: Understand the Control Type
Different blinds require different adjustment methods depending on how they’re controlled:
-
Remote Control: Many models use a dedicated remote with buttons for “up,” “down,” and “programming.”
-
Smartphone App: Wi-Fi or Bluetooth connected blinds can be adjusted through an app.
-
Wall Switch: Hardwired motorized blinds often include a physical wall switch for programming.
-
Manual Reset Buttons: Some motors have buttons directly on the headrail.
Tip: Always check your manufacturer’s instructions for model-specific details.
Step 2: Set the Upper and Lower Limits
The most important adjustment is setting the limit positions, where the blind stops when opening and closing.
-
Enter Programming Mode:
-
-
On a remote, hold the program button until the blind jogs (moves slightly).
-
On a motor, press and hold the set button until you see movement.
-
-
Set the Upper Limit:
-
-
Use the “up” button to raise the blind to the highest desired position.
-
Press “program” or “set” to save.
-
-
Set the Lower Limit:
-
-
Use the “down” button to lower the blind to the lowest point.
-
Press “program” or “set” again to save.
-
-
Test Movement:
-
Run the blind up and down to confirm it stops at the right places.
-
Step 3: Adjust Tilt (for Venetian or Vertical Blinds)
If your motorized blind has slats, you may need to adjust the tilt:
-
Use the tilt buttons on the remote or app.
-
Stop at your preferred angle.
-
Some systems allow saving tilt positions as presets.
Step 4: Re-Sync the Remote or App
Sometimes adjustments fail because the blind isn’t synced with the control device.
-
Re-pair the Remote: Hold the programming button on the blind until it jogs, then press the “channel” button on the remote.
-
Re-pair with App: Open the app, select “add device,” and follow the on-screen instructions.
Step 5: Adjust Motor Speed or Direction
Some advanced motorized blinds let you adjust speed and rotation direction.
-
Direction Adjustment: If “up” makes the blind go down, you can reverse the motor direction in settings.
-
Speed Adjustment: High-end models may allow slower or faster rolling, adjustable through the app or motor buttons.
Troubleshooting Adjustment Issues
-
Blind stops too early or too late: Re-set the limit points.
-
Blind moves unevenly: Check bracket alignment and ensure the fabric is rolled properly.
-
Remote not working: Replace batteries or re-pair.
-
App control delayed: Ensure stable Wi-Fi or Bluetooth connection.
-
Motor noise increases: Lubricate moving parts or contact manufacturer.
Tips for Smooth Adjustment
-
Always use a level when installing blinds to prevent uneven rolling.
-
Adjust limits slowly to avoid overshooting.
-
Don’t pull or force motorized blinds manually unless your model allows it.
-
Regularly update the firmware if using app-controlled blinds.
-
Test settings after every adjustment.
Professional vs DIY Adjustment
-
DIY Adjustments are suitable for basic limit setting, syncing remotes, or recalibrating after a battery change.
-
Professional Help may be needed for hardwired blinds, electrical issues, or when multiple blinds are integrated into a central smart home hub.
The Future of Motorized Blind Adjustments
Modern systems are becoming smarter with AI-driven automation, geofencing, and compatibility with Matter protocol for seamless integration. In the near future, blinds may adjust themselves automatically based on weather forecasts, sunlight intensity, or your daily routines without any manual input.


